- Click on the PoS icon.

- Once the dropdown appears, click on Point of Sale.

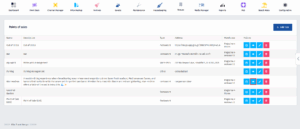
- After you’ve been redirected to this page, find the PoS you’re looking for and click on the View Details button.
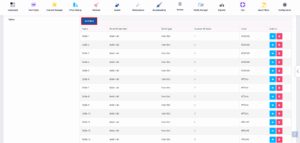
- Once you’ve been redirected to this page, click on Halls & Tables.
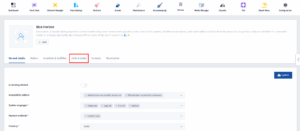
- Now click on Add New.
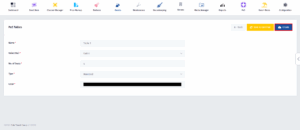
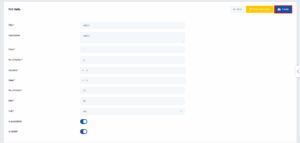
- Fill in the hall details such as name, floor, tables, and area. Enable the switches if it’s accessible or indoors, then click Create to save the hall.
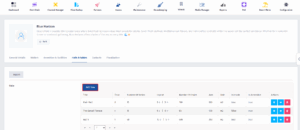
- After you’re back to the main page, scroll down and click on the Add New button beside Tables.
- Enter the table details, select the hall it belongs to, set the number of seats, choose the table type and color, then click Create to save.