Creating users, assigning roles, and setting permissions in Spoonbill Property Management System (PMS) is essential for maintaining security, organization, and efficiency within the platform. This process ensures that each team member has access only to the tools and data they need to do their job—nothing more, nothing less. By clearly defining roles and permissions, property managers can reduce errors, prevent unauthorized access to sensitive information, and streamline workflows. This tutorial will guide you through the steps to properly set up users, helping you manage your team with clarity and control.
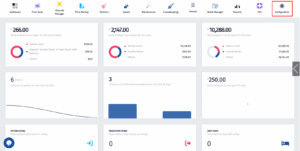
- Click on the Configuration icon.
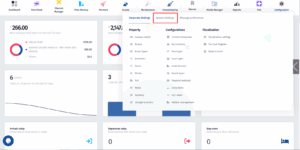
- After clicking on Configuration, click on System Settings.
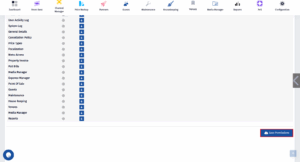
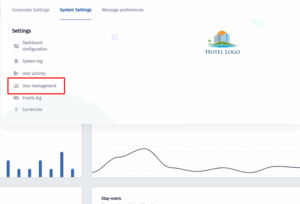
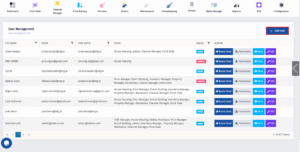
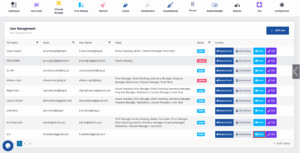
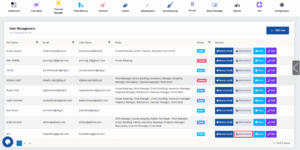
- Click on User management.
- When you get to this section, click on Add new.
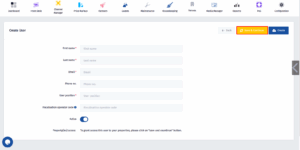
- Fill in the required fields including first name, last name, email, and user position. Optionally, you can add a phone number and fiscalisation operator code if needed. Make sure the “Active” toggle is turned on to enable their access.

- Now click on Save & Continue.
- There can be more than one hotel under one account because our PMS is multi-property. You can pick the hotels you want this user to access here. If you have just one hotel there will be only one option to choose.
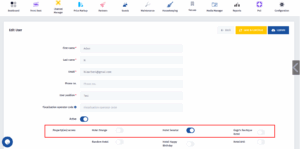
- Click on Update to save the property assignation.
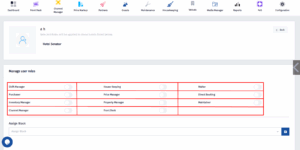
- Once you get back to this section, click on Roles.
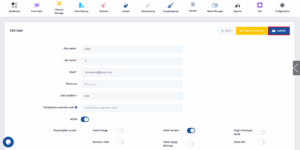
- After creating a user , you can assign their roles by toggling the switches next to the roles you want to grant. Once the roles are selected, the user’s access will be limited to the permissions tied to those roles, helping you manage responsibilities effectively.
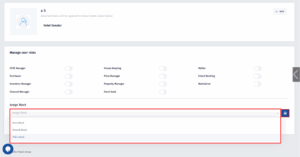
- You can also assign the user to a specific block using the Assign Block dropdown. After using the Assign Block, click on the Save button.
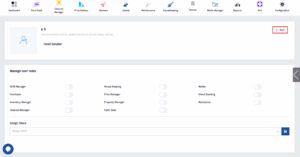
- Now click on Back.
- Once you get to this section, click on Permissions.
- To set permissions for a user, go through the list of available permissions and toggle on the ones the user should have access to—such as Reservation List, Room Reservation, or User Management. Next to each main permission, you’ll see a small arrow icon; click it to expand a dropdown menu that reveals more specific options, like UsersView, UsersEdit, or UsersCreate. Enable only the actions that match the user’s responsibilities.
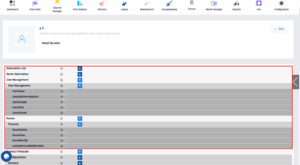
- The last step is to scroll down and click on Save Permissions.